


Before You Begin
The type of caulk you need depends on the type of job you’re doing. For indoor projects in areas exposed to a lot of water, like a shower or bathtub, you’ll want a silicone caulk that acts as a sealant and also repels moisture—a great defense against mildew and mold. For work that won’t see as much water or sunlight, like the baseboards around the basement floor, a latex caulk might better suit your needs. Latex varieties expand to fill crevices a little better than silicone, but repeated exposure to rain, sunlight, or water will have it breaking down much earlier than the latter variety. Your local hardware store can help you determine what’s best for you.
Although it’s possible to caulk over caulk, we recommend removing any and all old caulk, paint, mold, or rust from the surface before applying new caulk. You can use tools like a putty knife or wire brush to clear the existing gunk. A small vacuum can also be useful for sucking up hard-to-reach debris. Then, thoroughly wipe it down with vinegar, liquid caulk remover, or bleach. Once clean, you must let the area completely dry. This is an essential step: If you lock in any moisture with your caulking job, it could lead to mold.
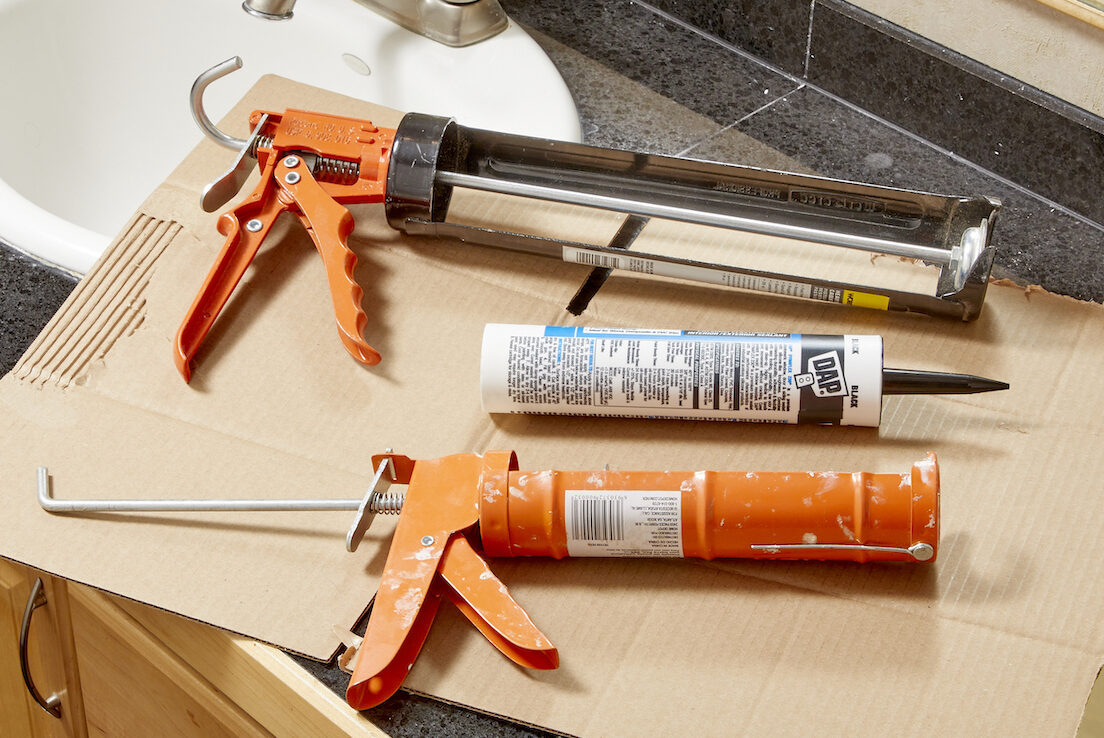
Give special attention to choosing the best caulking gun for your project. The biggest decision to make is size, and that depends on the tube of caulk you’re using. There are two standard sizes for both tubes of caulk and caulking guns: 10 and 29 ounces. Make sure the tube and tool sizes align.
While pricier battery-powered caulk guns are nice, most homeowners can achieve professional results with a simple (and more affordable) ratchet-style model. Manual caulking guns aren’t expensive, but super-cheap ones can be flimsy or break halfway through a job. We recommend spending a small amount of extra money on a reliable and sturdy tool.
RELATED: 15 Problems Around the House That You Can Solve With Caulk
STEP 2: Cut open the tube of caulk.
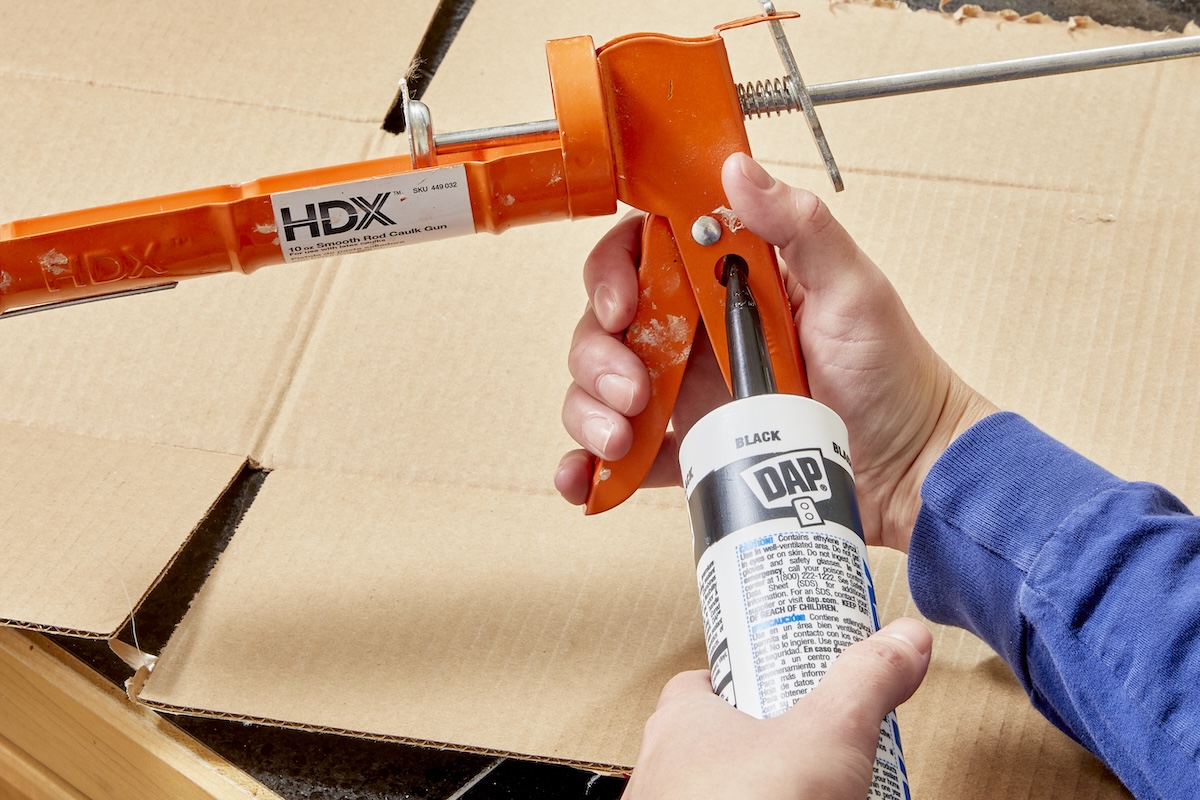
Many caulk guns are equipped with a small blade tucked into the handle, which makes quick work of opening tubes of caulk. If your tool doesn’t have a built-in cutter, use a utility knife to slice off the tip of the pointed nozzle. The size of the opening will depend on the task at hand. For precision jobs like hiding imperfections on new interior trim, you’ll want a fine opening cut at a 45-degree angle. For rougher jobs such as applying construction adhesive, you can make a bigger, straight cut at the middle of the nozzle.
Then, use something sharp like a nail or wire to poke through the internal seal. Many caulking guns are also equipped with a poker for this purpose.
STEP 3: Load the caulk gun.
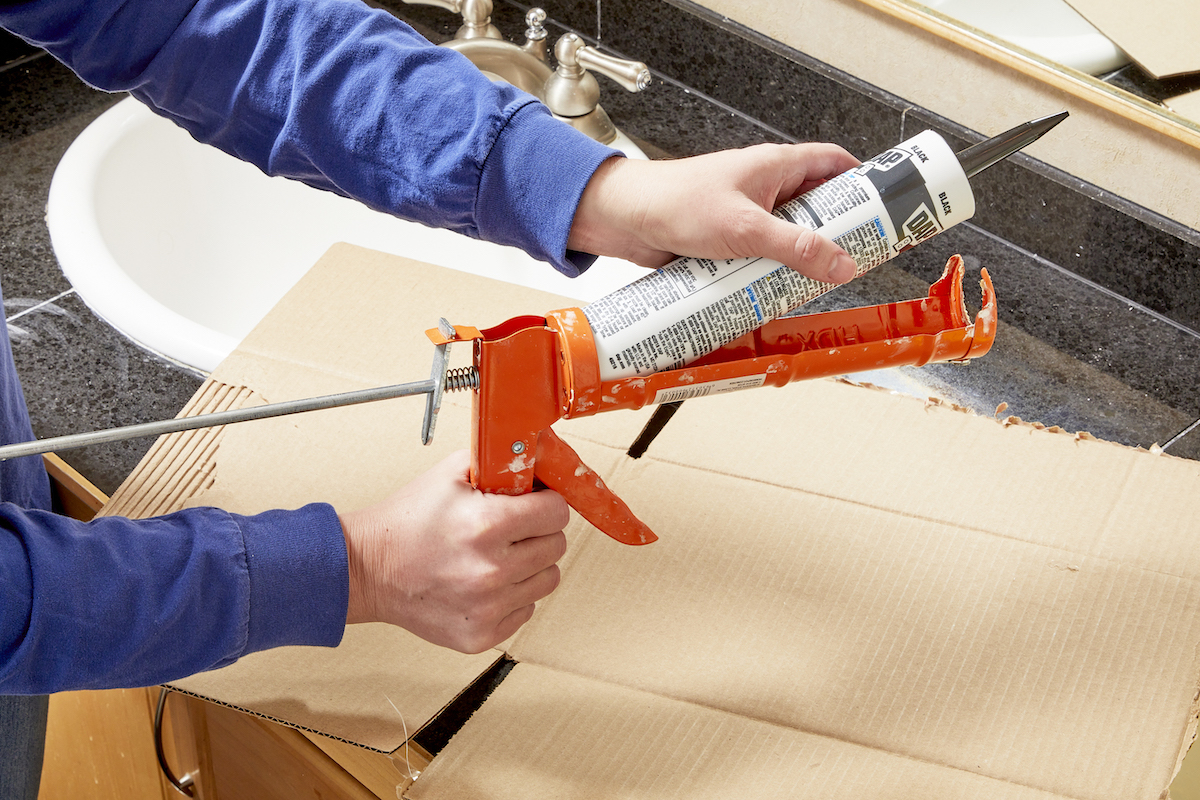
To load a caulk gun, press the release trigger located on its handle and then pull the metal rod all the way back. Every gun is a little different, but assume that the hook at the back of the ratchet gun must be facing down at a 90-degree angle when you pull this back. With the rod back, insert the fresh tube of caulk. Place the flat base of the caulk tube in the back of the gun, and then allow the nozzle to rest in its place at the front of the gun. Gently push the metal rod back into place as far as it will go.
STEP 4: Test the bead and trigger speed.
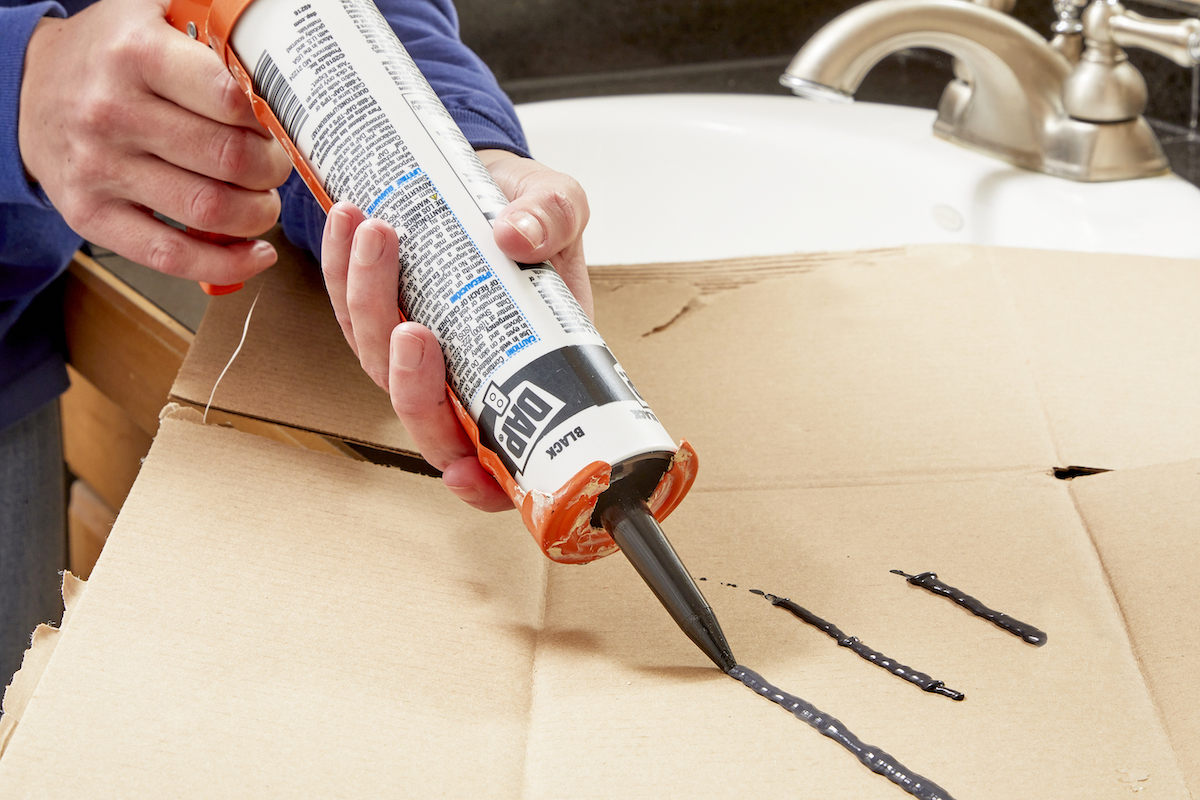
Before applying caulk where you mean to put it, test the gun on a piece of paper or cardboard. Hold it at a 45-degree angle and gently squeeze the trigger to form a bead of caulk. Continue pressing the trigger lightly and pull the gun toward you at a steady pace—too slow and the caulk will get clumpy, too fast and it will become thin and uneven. Try not to let too much caulk pool up as you continue to squeeze and release the trigger.
STEP 5: Apply the caulk.
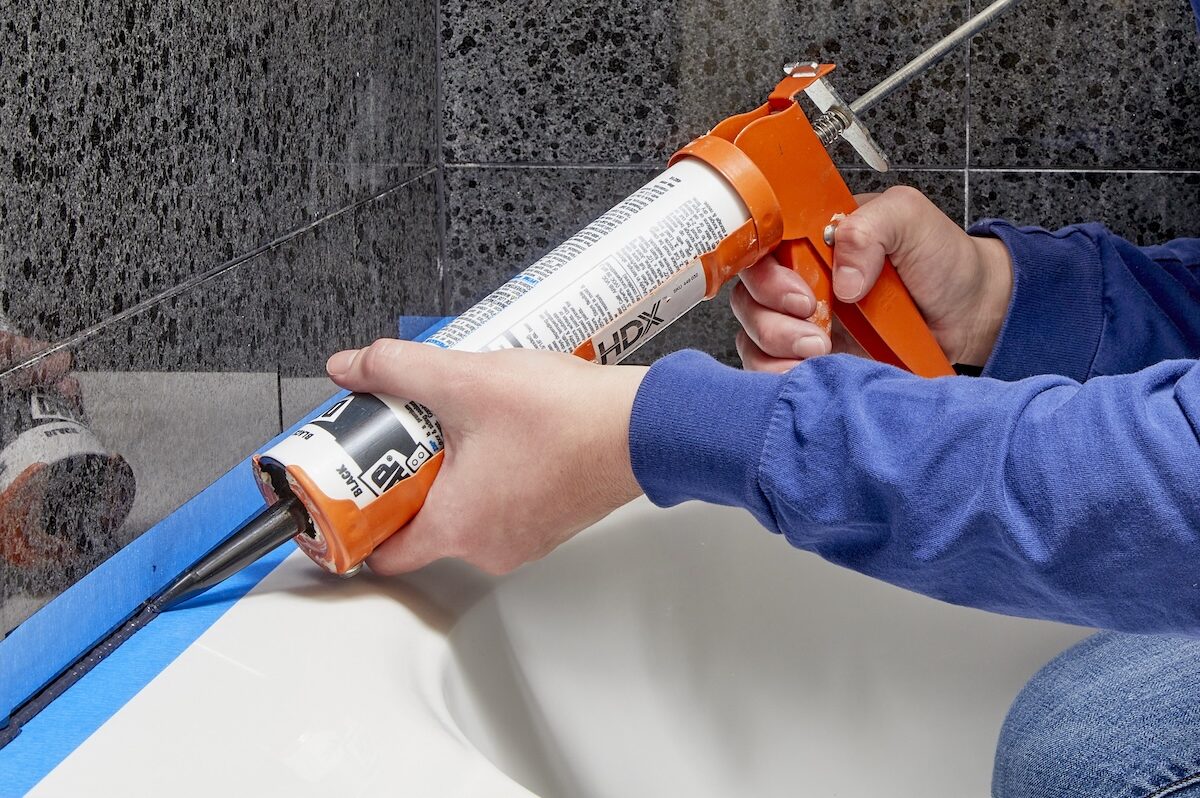
Once you have a feel for the flow, carefully apply the caulk to your desired surface. Try to keep your movement along the line as steady and consistent as possible. As soon as you’ve finished caulking, smooth over the caulk with a wet finger or a finishing tool. This light pressure will give you the even, smooth lines of a professional job.
Tip: For indoor projects where attention to detail matters, painter’s tape is your friend. Use it to mask areas you don’t want to caulk, and to achieve crisp edges. Give yourself about 1/8 inch of space on either side of the caulk line to ensure a good seal.
STEP 6: Plug the tube to preserve leftover caulk.
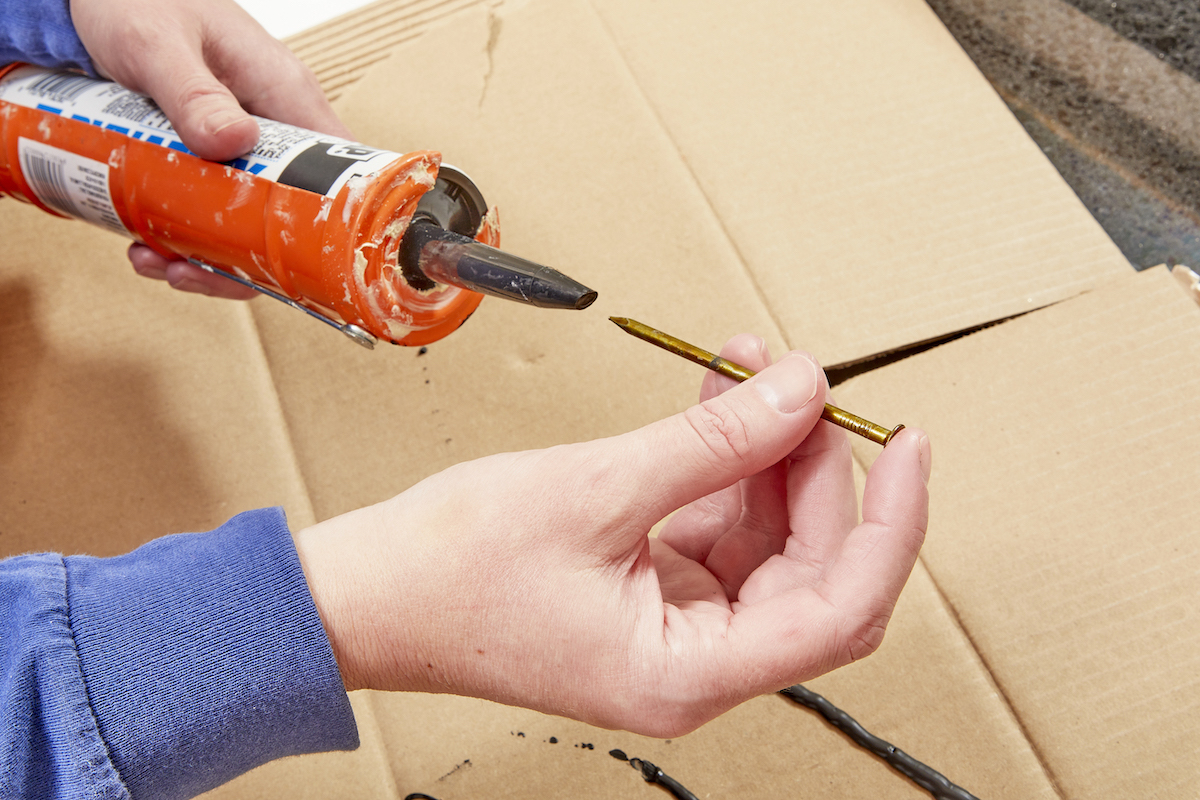
After completing your project, it’s worth keeping leftover caulk on hand for a short period of time in case you need to do any touch-ups. Most tubes of caulk are not equipped with lids, but you can still save leftover product by sealing the opening with a nail. You could also try using a wire nut or purchase a special plug.

I Was Dead Set On Stone Floors—Until I Saw These Options