


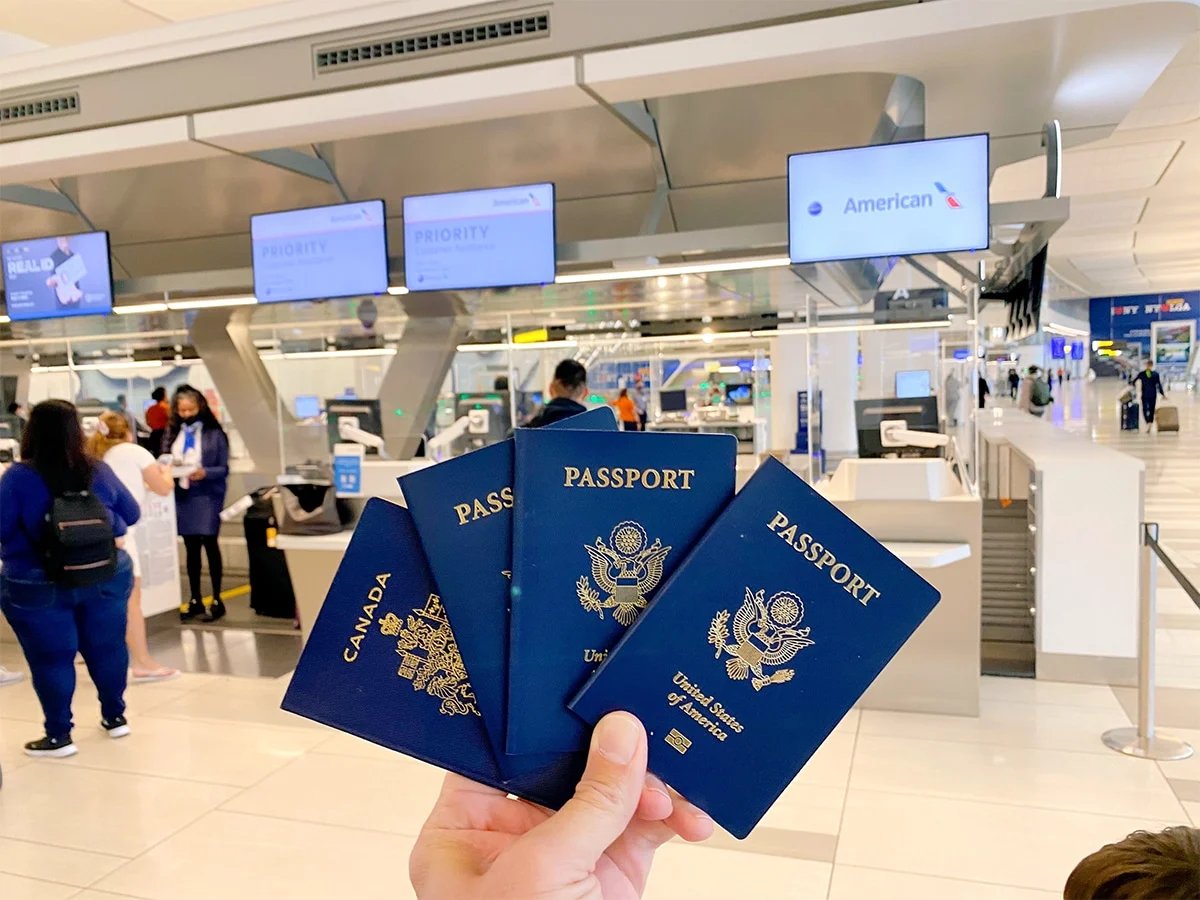
Travel can be chaotic, and if you’re not fully prepared, it can get even worse. Before your next international trip, the last thing you want is to discover that your passport is expired, damaged, missing or doesn’t meet your destination’s entry requirements.
Here are 12 passport tips that can help you avoid major travel headaches.
1. Check Your Passport’s Validity
Before booking an international trip, find your passport and make sure it’s valid. Many countries require your passport to be valid for at least six months beyond your arrival date. Even if you’re only visiting for a day, you could be denied boarding or entry if you don’t meet that requirement. If your passport is getting close to expiring, renew it now instead of paying expensive expedited fees later. Here’s how.
RELATED: Protect Your Valuables When You Travel With a Money Belt
2. Renew Early
Don’t wait until the last minute to renew your passport. While processing times have improved, they can still fluctuate depending on demand. I recommend renewing at least six months before any planned international travel, especially if your passport is close to expiring or running out of blank pages.
3. Find Out Whether You Need a Visa or Travel Authorization
I’ve had countless friends show up at the airport only to discover they needed a visa—or an electronic travel authorization they didn’t know about.
Requirements vary by country and can change at any time. Before every international trip, check the U.S. State Department’s country information page to see whether you need a visa, an electronic travel authorization (such as Canada’s eTA or the U.K.’s ETA), vaccinations or other entry documents. It’s also the best place to find embassy and consulate information if you run into trouble abroad.
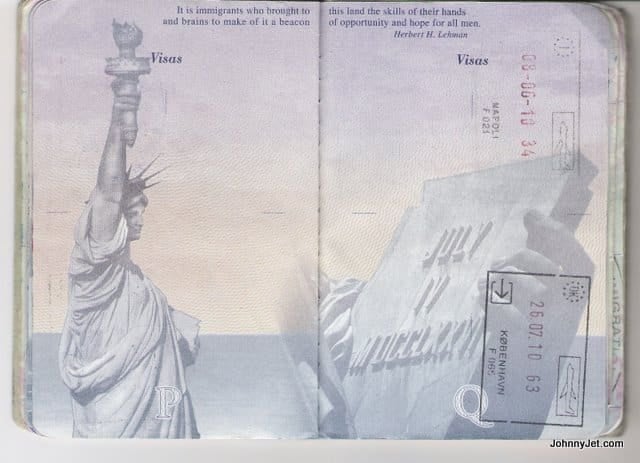
4. Make Digital Copies
Before every international trip, take a photo of your passport’s identification page and save it securely on your phone and in the cloud. I also email a copy to myself and leave one with a trusted family member. If your passport is ever lost or stolen, having a copy can make replacing it at a U.S. embassy or consulate much easier.
5. Consider Getting a Second Passport
If you travel internationally often and frequently need visas, consider applying for a second U.S. passport. This allows you to send one passport away for visa processing while continuing to travel with the other. It’s especially useful for business travelers and anyone visiting countries with conflicting visa requirements.

6. Never Put Your Passport in Checked Luggage or Your Back Pocket
This is one of the biggest travel mistakes you can make. Always keep your passport with you in your carry-on or personal item—never in checked baggage. If your checked bag is delayed or lost, you could be stuck without your most important travel document. And please don’t carry your passport in your back pocket. It’s one of the easiest places for pickpockets to steal it or for it to accidentally fall out. Just ask my wife about the time she lost hers in Estonia.
7. Always Look Twice
Whenever you leave a taxi, rideshare, airplane, train or hotel room, make it a habit to look back one last time. I can’t tell you how many readers have left behind passports, wallets and phones in seatback pockets, hotel safes or the back seats of taxis. A quick double-check can save you hours—or even days—of frustration.
 8. Keep It Safe
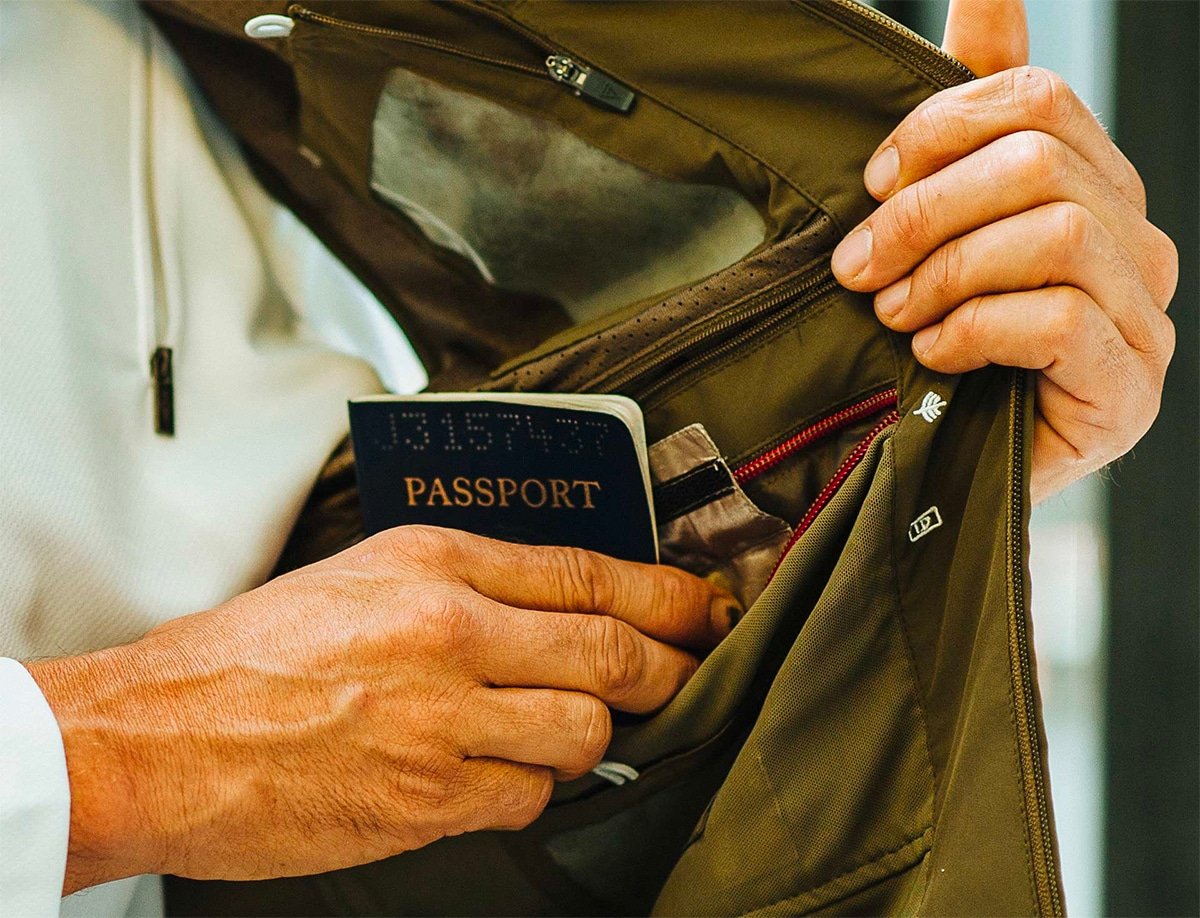
When you’re not crossing a border or checking into a hotel, you may not need to carry your passport everywhere you go. A reader once shared advice they received from the U.S. Embassy in Paris after having their passports stolen on the Metro: Keep your passport securely stored rather than carrying it around all day. Depending on your destination, that could mean using your hotel’s room safe, a portable travel safe, a secure money belt or a Scottevest jacket with 20+ pockets. Just be sure you always know exactly where it is.
9. Use Color-Coded Stickers for Family Travel
This tip comes from reader Karol H., a retired flight attendant. When traveling with a family, put a tiny colored sticker with each person’s initial on the back cover of their passport. It makes it much easier to hand out the correct passport while standing in immigration or customs lines instead of opening each one to check whose is whose. It’s a simple trick that can save a surprising amount of time.
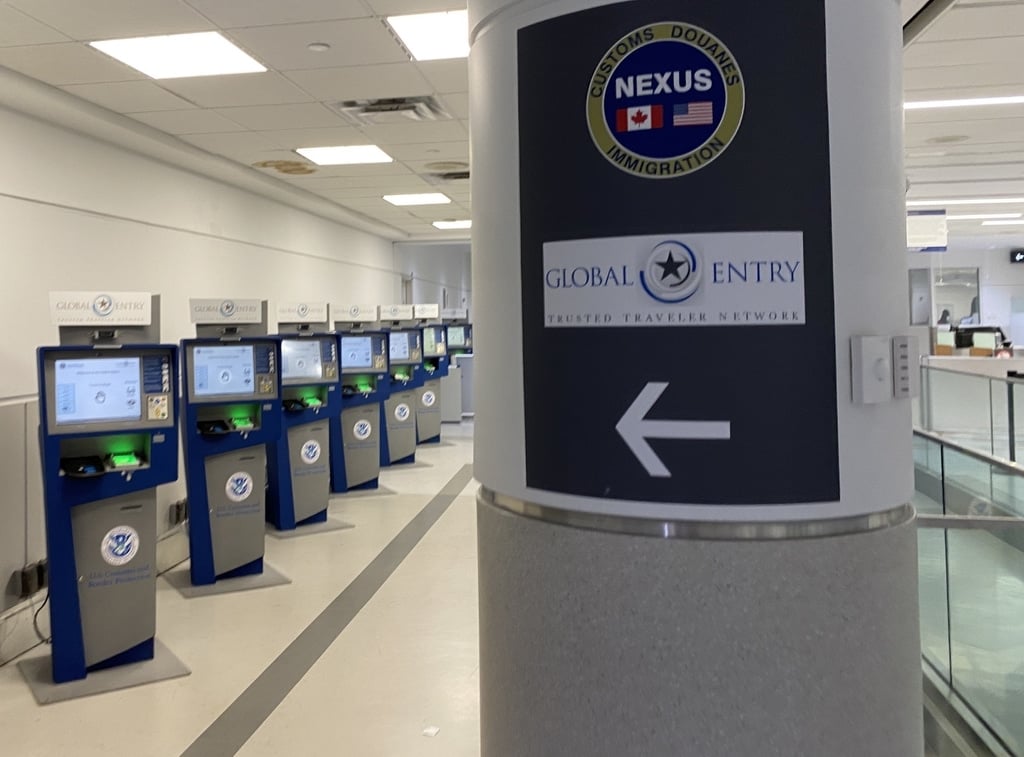
 10. Get Global Entry (or NEXUS)
 10. Get Global Entry (or NEXUS)
If you’ve been reading my newsletter for a while (sign up here), you know I’m a huge fan of Global Entry. It speeds up your arrival back into the United States, includes TSA PreCheck and now uses facial recognition at many airports, making the process even faster than before.
If you travel to Canada frequently, NEXUS is an even better value since it includes NEXUS benefits plus Global Entry and TSA PreCheck. Many premium travel credit cards will reimburse the application fee, making it an even better deal.
11. Use an Expediter When Necessary
If you need a passport quickly and don’t want to deal with the process yourself, a reputable passport expediter can often save you time and stress. I’ve used several over the years when deadlines were tight. Just be sure you’re working with a legitimate company that specializes in passport services.
12. Renew Online If You’re Eligible
One of the best improvements in recent years is online passport renewal. Many Americans can now renew their passports online through the U.S. State Department instead of mailing paperwork. Not everyone qualifies, but if you do, it’s usually the easiest way to renew.
Before starting the process, check the State Department’s website to make sure you’re eligible.
Final Thoughts
Your passport is the single most important document you’ll carry when traveling internationally. Spending just a few minutes checking the expiration date, making digital backups and storing it securely can save you hours of stress—not to mention expensive last-minute fees or even a ruined vacation.
Do you have a passport tip I missed? Let me know in the comments.
Editor’s note (Updated July 2026): We’ve updated this guide with the latest passport rules and travel tips. Some older comments below refer to a previous version of this article.
