


Many lighting projects might challenge the average DIYer, but learning how to install LED strip lights while avoiding common issues is relatively easy when following manufacturer instructions and some helpful tips. With just a power supply and little know-how, you can put together an LED strip lights setup that perfectly suits your home and lifestyle.
After deciding where to put LED lights in your room of choice, the next step is determining how to hang LED light strips on the wall, how to install LED strip lights on the ceiling, or even how to install strip lights under cabinets for kitchen countertop lighting. Use this informative LED lights installation walkthrough for step-by-step setup instructions, as well as guides on how to connect LED lights together and how to cut LED strip lights.
RELATED: Are These Highly-Rated LED Lights Worth the Money?
6 Steps to Installing LED Light Strips
Learning how to put up LED lights in your room is a great way to change the aesthetic of your personal space. Just keep in mind that rough, dirty, or uneven surfaces limit the contact between an LED light strip’s adhesive and the wall, ceiling, or other applicable area. Make sure to select a suitable location for the installation, and take the time to clean the surface and allow it to dry so the light strips don’t fall down after you put them up.
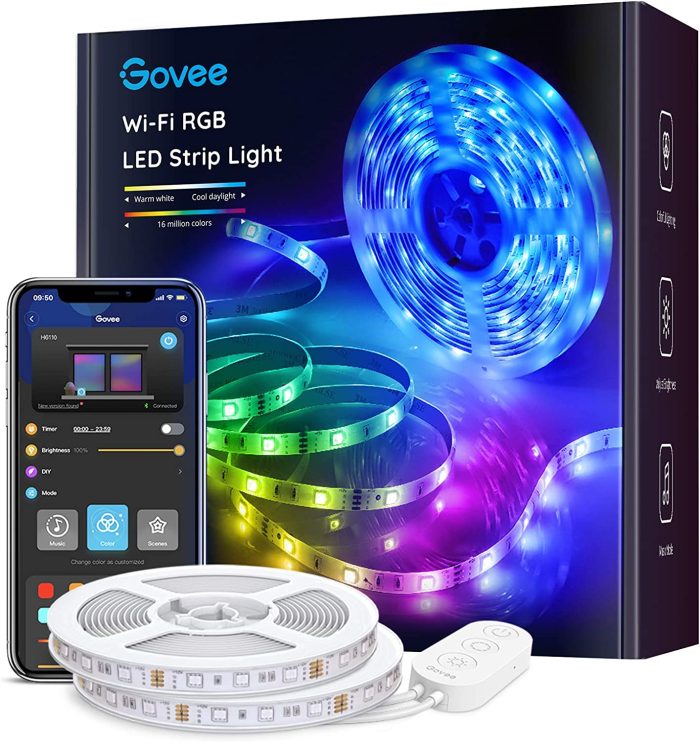
Our Recommendation: Govee Smart LED Light Strip (16 feet)on Amazon for $32.99
With millions of color options available through the Govee Home app, this 32.8-foot smart LED light strip provides bright, customizable lighting.
SUPPLIES
Tape measure
Cleaning loth
Scissors (optional)
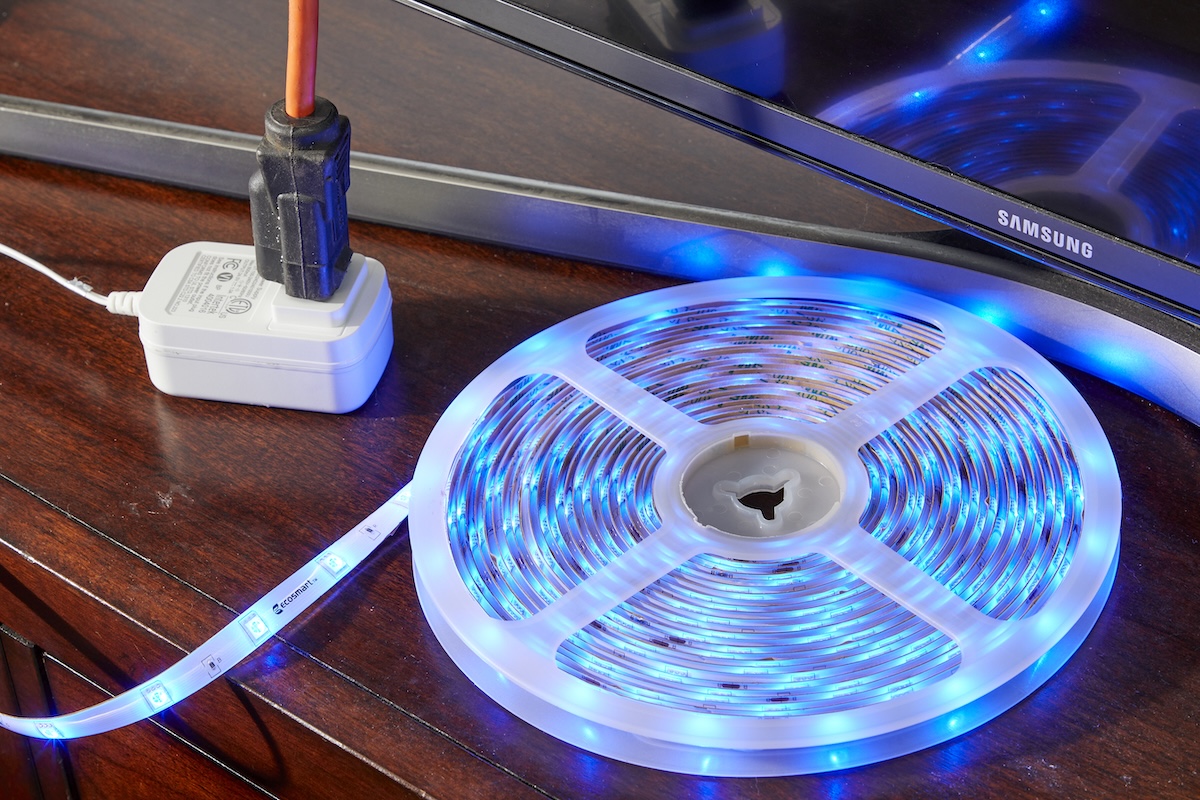
Step 1: Test the light strip and take measurements.

Step 2: Clean and dry the installation surface.
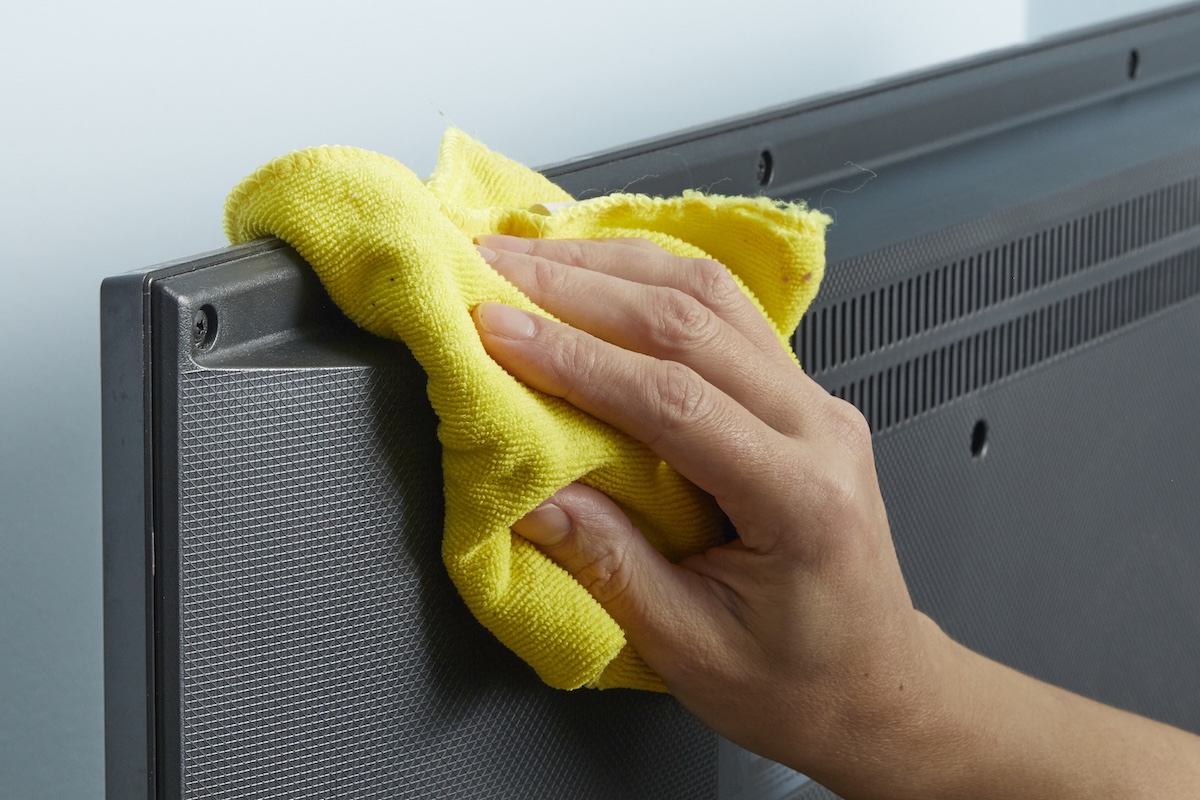
Use a clean cloth and warm, soapy water (or included alcohol wipes) to clean the area where the LED light strips will be installed. After cleaning the installation surface, use a clean cloth to dry the area. As long as the area is clean and dry, LED light strips can adhere to a range of smooth surfaces, including wood, plastic, metal, and vinyl.
Step 3: Peel off the backing to expose the light strip adhesive.
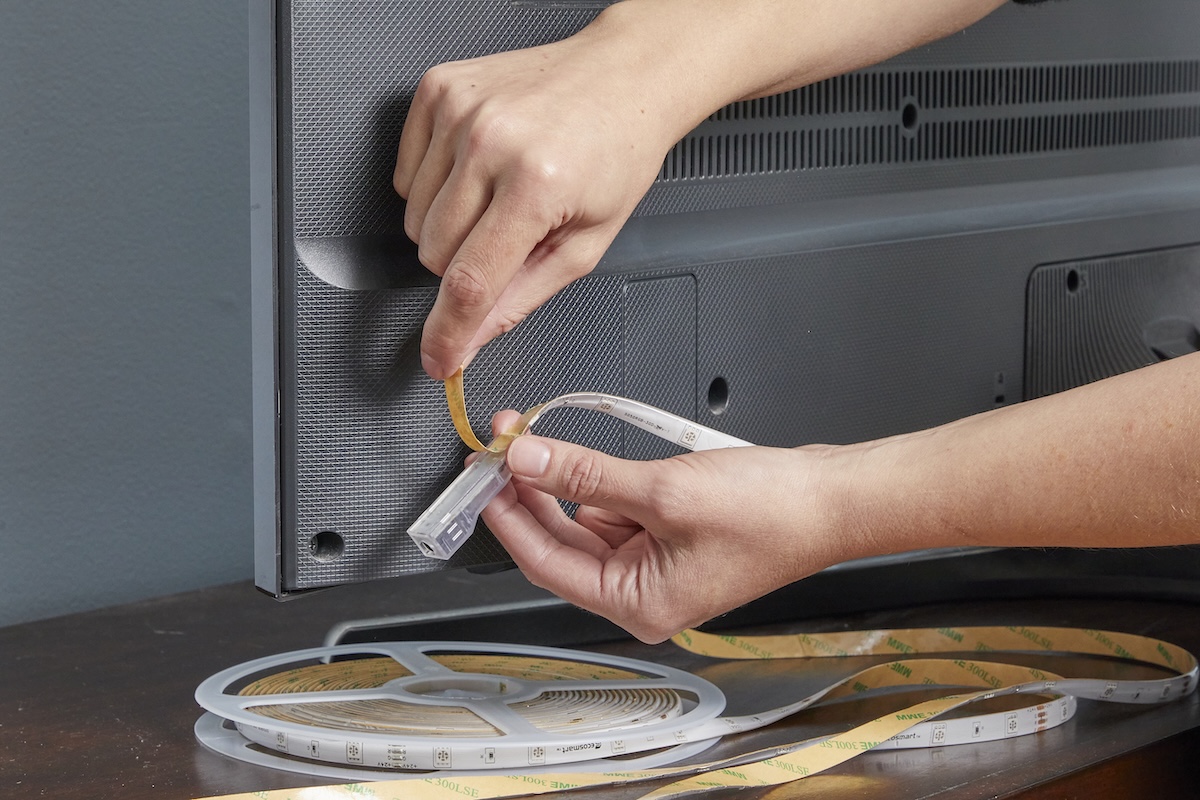
If you pull off the light strip’s entire adhesive backing immediately, there is a high chance that dirt, dust, or other debris will get stuck to the exposed adhesive before you can finish the installation. To avoid this issue, gradually peel off the backing to expose about 6 to 18 inches of adhesive at a time.
Step 4: Apply the light strip to the target surface.


Based on where the light strip will plug into a power source, start the installation close to this location. Line up the light strip’s first section of exposed adhesive against the target surface, press firmly, and smooth the strip down by hand. Peel off more backing to expose another section of adhesive before pressing the light strip to the target surface. Repeat this process as necessary until you have finished mounting the LED light strip to the surface.
Step 5: Trim any excess light strip length (optional).
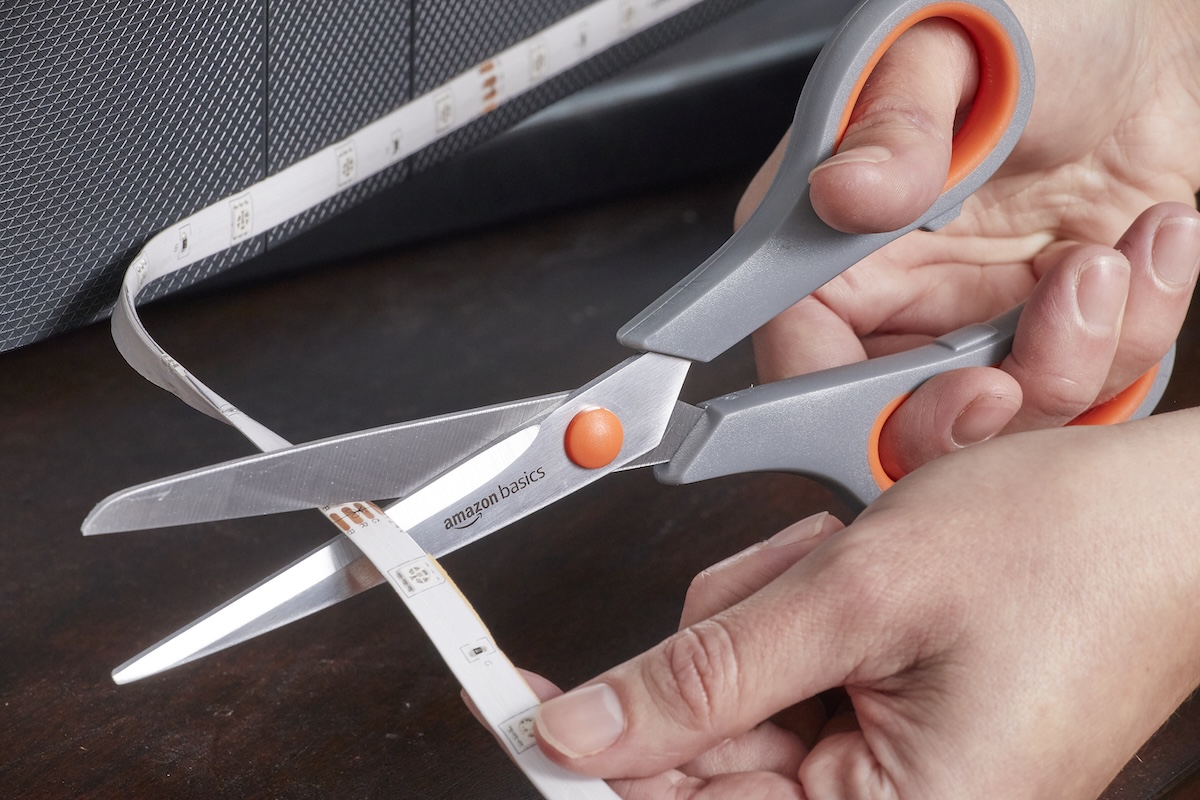
If your LED light strip product can be cut and is longer than required, trim any excess length off the end of the light strip. Refer to the manufacturer’s directions to determine exactly where to cut LED strip lights to avoid damaging the product. Typically, there will be some type of marking on the light strip (such as a scissors symbol) to indicate where it can be cut. Use scissors to carefully snip off extra light strip sections and properly dispose of them.
Step 6: Turn on the light strip.
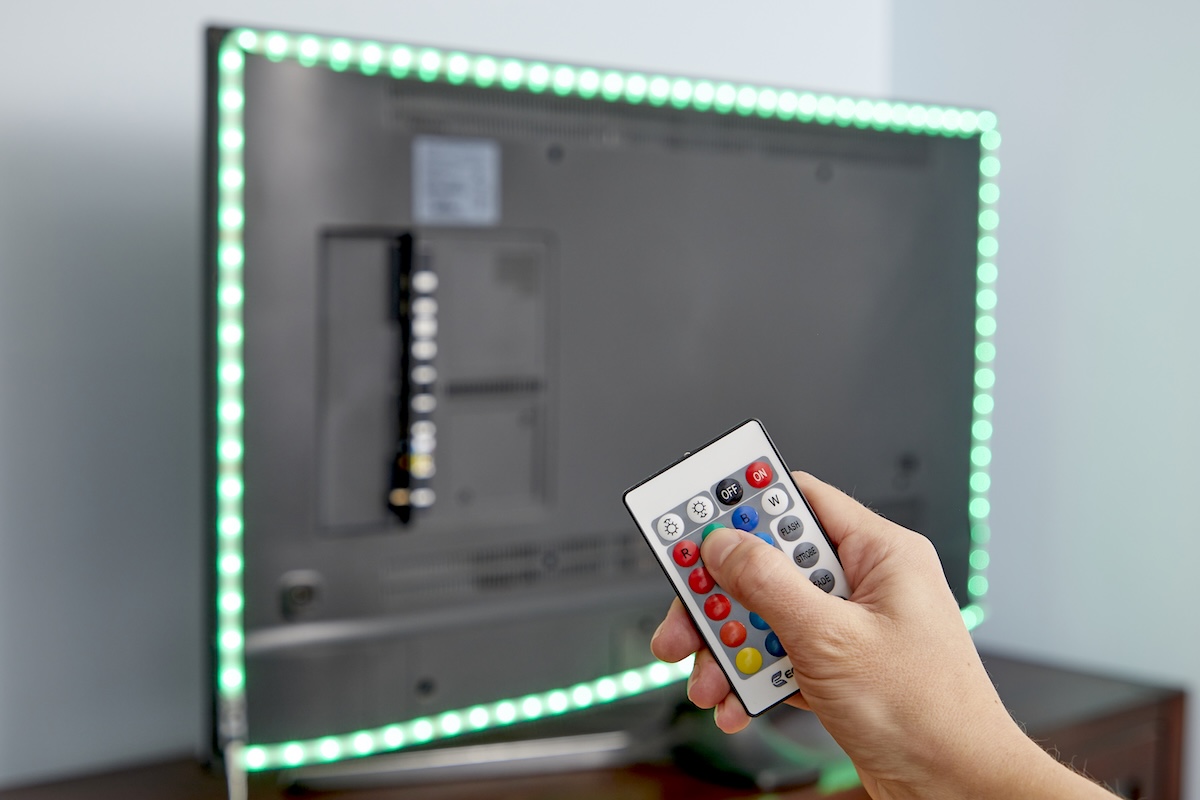
Connect the LED light strip to the power outlet and turn it on to test if the installation was successful. Ideally, the lights will turn on and respond to the remote control, LED light strip app, or even voice commands, depending on the product.
Refer to the manufacturer’s troubleshooting instructions if the light strip doesn’t turn on or flickers when it shouldn’t, even after unplugging and plugging it back in to reset the light strip. The issue may be due to a loose or damaged pin connection. Check the pins for damage and reconnect the strip lights, ensuring the connections are secure. If this does not resolve the problem, you may need to repair the pins or replace the damaged light strip before proceeding.
How to Connect LED Light Strips Together
Hanging LED light strips is a straightforward process, but you may need to connect light strips together in a series for extra length or more intricate setups. Some light strips can connect to other light strips from the same brand with ease—or, in the case of many TV LED backlight kits, multiple strip lights may already be connected together out of the box. However, you can easily connect LED light strips together to extend the length of a strip, create unique lighting patterns, or border TVs or computer monitors using the below DIY method.
SUPPLIES
Scissors
Light strip connector kit
Step 1: Connect the light strips to a strip connector.
To attach LED light strips together, you typically need one or more light strip connectors, which come in straight, angled, or even T-shapes to connect two or more cut light strips together to create custom shapes and account for corners and uneven surfaces. Use scissors to cut the light strip to the desired length, only cutting where indicated by the manufacturer. Make sure the cut is straight for the best connection possible. (See “How to Cut LED Strip Lights” below for more detailed instructions.)
Slide the cut end of the light strip into the open end of the connector. Don’t rush this process, as the strip or connector can be damaged if you apply too much pressure if you aren’t careful.
Step 2: Align the wires with the correct color on the light strip.
Use the labels on the light strip and strip connector to properly align the wires with the correct color on the strip. The exact configuration will depend on both the connector and the LED light strip. For instance, if you have a four-wire LED light strip with blue, red, green, and black wires, then you would align them with the areas on the strip connector labeled B, R, G, and 12V. The blue wire would go to the B, red to the R, green to the G, and black to the 12V.
Step 3: Close the connector to secure the light strip.
With the wires properly aligned, close the connector to ensure the wires remain secure. Fold-over connectors close by pressing down on the flap until it latches, while a slip-on connector has gray or black buttons on each side that need to be pressed to lock the strip in place. After completing the connection, plug in and turn on the lights to test that it was successful.
RELATED: This DIY Lighting Solution is Perfect for Closets and Other Dark Spaces
How to Cut LED Strip Lights
Something often overlooked when learning how to set up LED strip lights is that you can cut most (but not all) light strips to shorter lengths in order to better fit your desired location. This process will slightly differ between products, so refer to your LED light strips’ user manual for specific details.
SUPPLIES
Step 1: Measure the LED light strip.
Never cut LED strip lights before measuring and marking the desired length. Use a tape measure to check the light strip’s length and compare it to the spot where it will be installed. Once you’re satisfied with the measurements, you can proceed. However, not all light strips can be cut. Check the product details and manufacturer instructions before cutting a light strip.
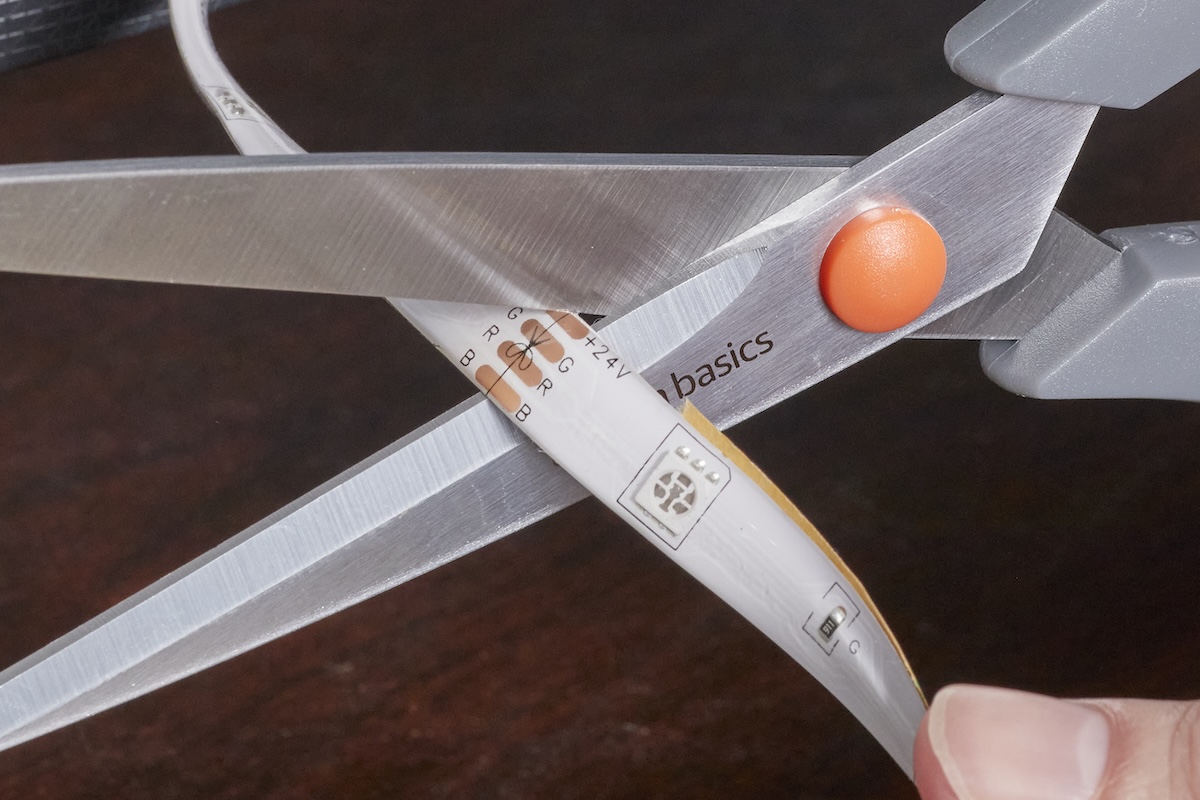
Step 2: Locate the indicated cut line.
After referring to the manual, inspect the light strip to locate the specified areas where you can safely cut through the light strip without damaging its functionality. These spots are often indicated by scissor symbols, though the exact symbol might vary from product to product.
Step 3: Cut and test the light strip.
Check the measurements once more to ensure you’re cutting the light strip to the correct length. Then, use scissors to cut a straight line through the LED light strip. Test the light strip by plugging it in; if it still turns on and functions as intended, your cut was successful.
Final Thoughts
LED light strips can be an excellent investment, regardless of whether you are installing under-cabinet lighting, jazzing up your TV, or creating a new lighting look in your bedroom. Even better, LED lights last for years, reducing the amount of waste otherwise produced by less durable incandescent lighting. LEDs also have a low energy requirement for operation, so you can cut, connect, and install LED light strips to illuminate your home while keeping your energy bills down.
The prices listed here are accurate as of publication on October 2, 2025.

Meet the 2025 Tools of the Year